|
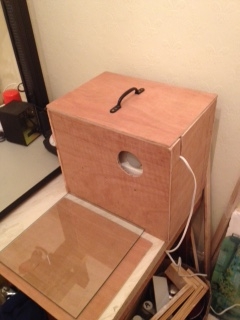
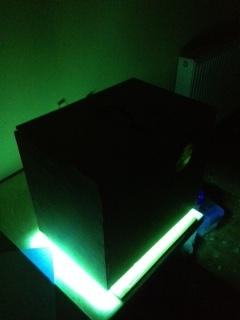
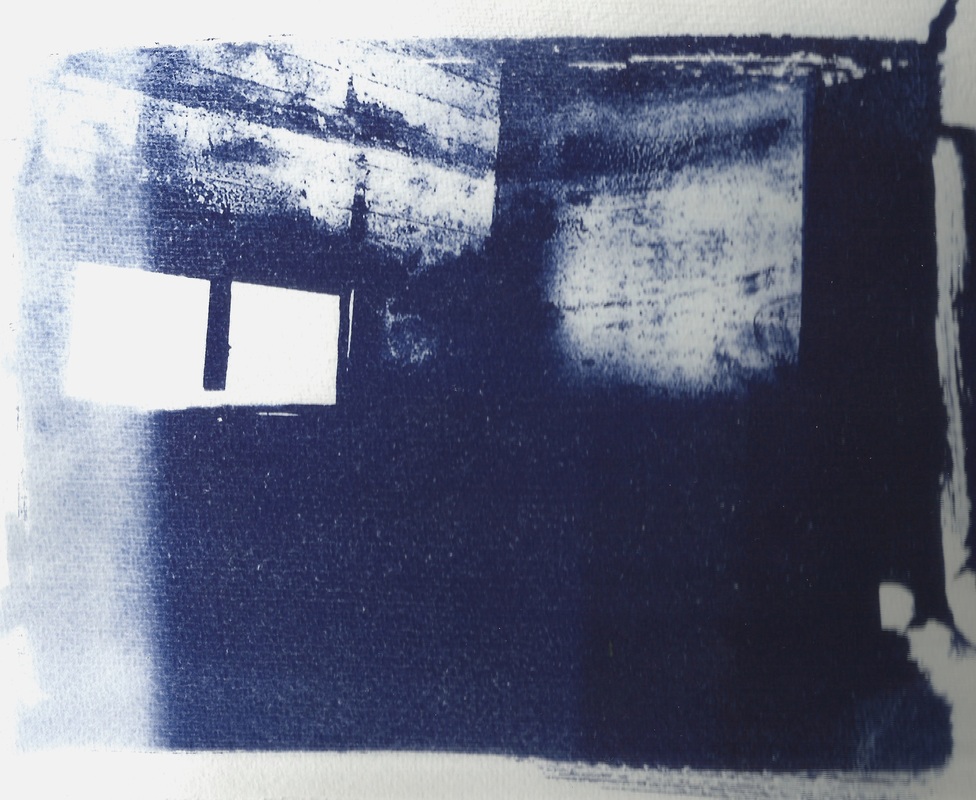
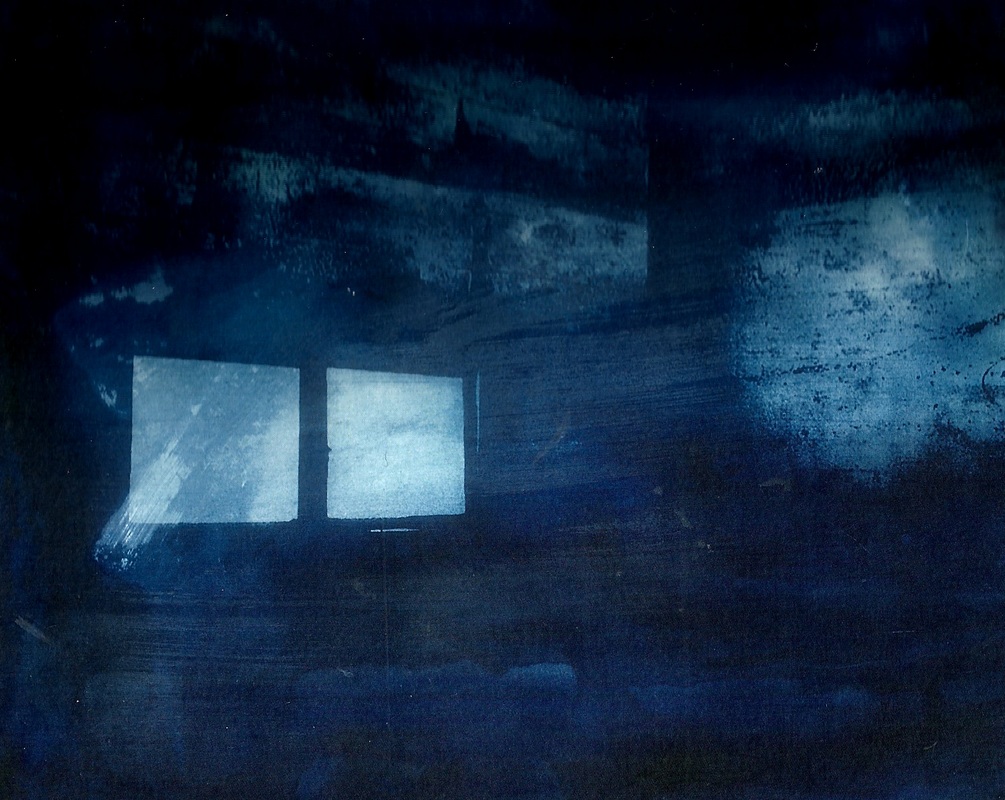
For my cyanotype experiments to begin I had either to hope that the sun would shine brightly for me or buy myself a reliable and constant UV light source. As the search began I quickly found that UV light boxes where expensive. Not perturbed I searched for instructions on how to make myself a homemade alternative. This search began on YouTube where I found how to build a UV light box from a facial tanner and a housing unit constructed from plywood. £20 later I had the makings of my light box. https://www.youtube.com/watch?v=nqcLfHPmM6o With light box constructed and plaster tiles prepared I needed to test my light box by making a test strip to determine exposure times. Happy with the result of the test strip which was made on Fabriano 5 paper I decided to try out the experiment plaster surface. Before applying cyanotype sensitiser to the plaster it is important to size the plaster for a couple of reasons. Firstly, if you do not the image will just wash off the plaster. Secondly, plaster is an alkaline surface and cyanotypes prefer an acid surface. My first experimental plaster shows less contrast compared to the test strip and I think that the experimental size is the reason why. It has also created distortions in the image. The next step will be to experiment with different plaster sealers and record the results to determine the best size fit for purpose . Comments are closed.
|
Archives
July 2024
|


