|
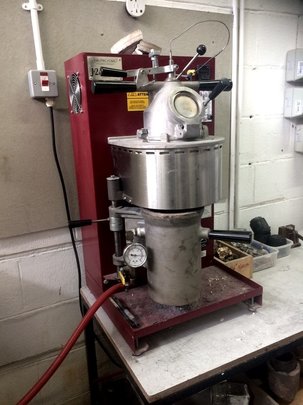
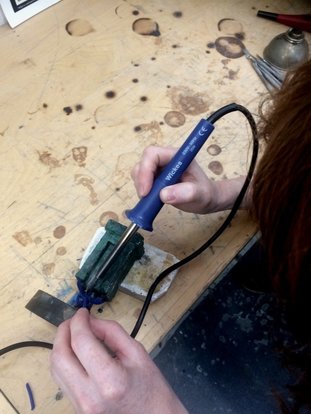
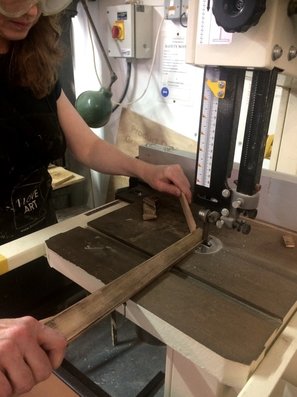
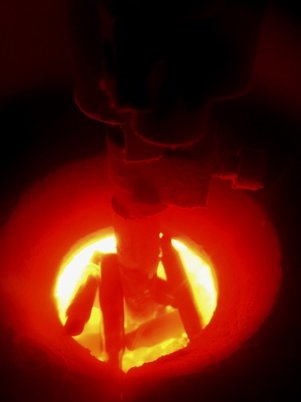
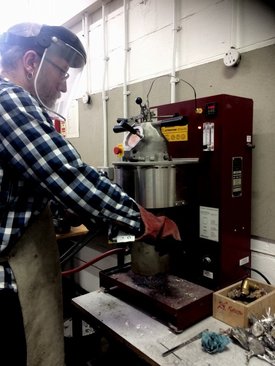
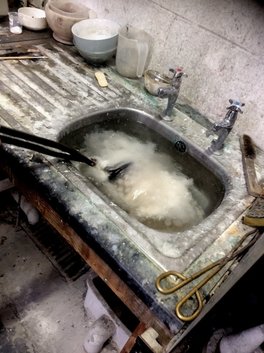
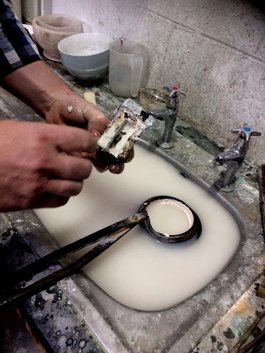
Tuesday morning saw me excitedly entering the Jewellery Workshop at Gray's School of Art to begin preparation for casting on Thursday. I am eager and excited to play with the amazing facilities on offer, for who knows if I will ever get this opportunity again? Under the guidance of Head Technician, Phil Chaplain, I began by preparing my wax model. Wax sprues are added to the piece, these will be the channels into which the molten metal will flow into the sculpture. Once the sprues have been added the wax sculpture is weighed so that I can calculate how much metal is required. For brass the formula is 8.8 times the weigh of wax. To be safe I multiplied by 9 as I was unsure of the pureness of my brass. It was important for me to use brass shells in this project but the number required was more than I could procure so I used a combination of shells and old window fittings. With the metal prepared the wax sculpture was set in the investment - a mix of plaster of paris and silca. This then went into the ceramic kiln for a 12 hour burnout programme. With the mould ready it was time to begin melting the metal by placing the brass into the crucible and heating it to 1000 degrees centigrade! Because my wax model was solid a lot of metal was required and it filled the crucible to capacity. Once the crucible was full of molten brass it was time to retrieve the investment flask from the ceramics kiln and load it into the bottom of the investment casting machine. A lever on the top was depressed which allowed the lava to flow into the mould below. When released from the machine you need to wait until the hot metal turns a cherry red before it can be quenched. The brass sculpture born from its womb will now need to be cleaned and polished. Thankfully there was JUST enough metal. The lesson learned is to make my next wax piece hollow.
Comments are closed.
|
Archives
July 2024
|
